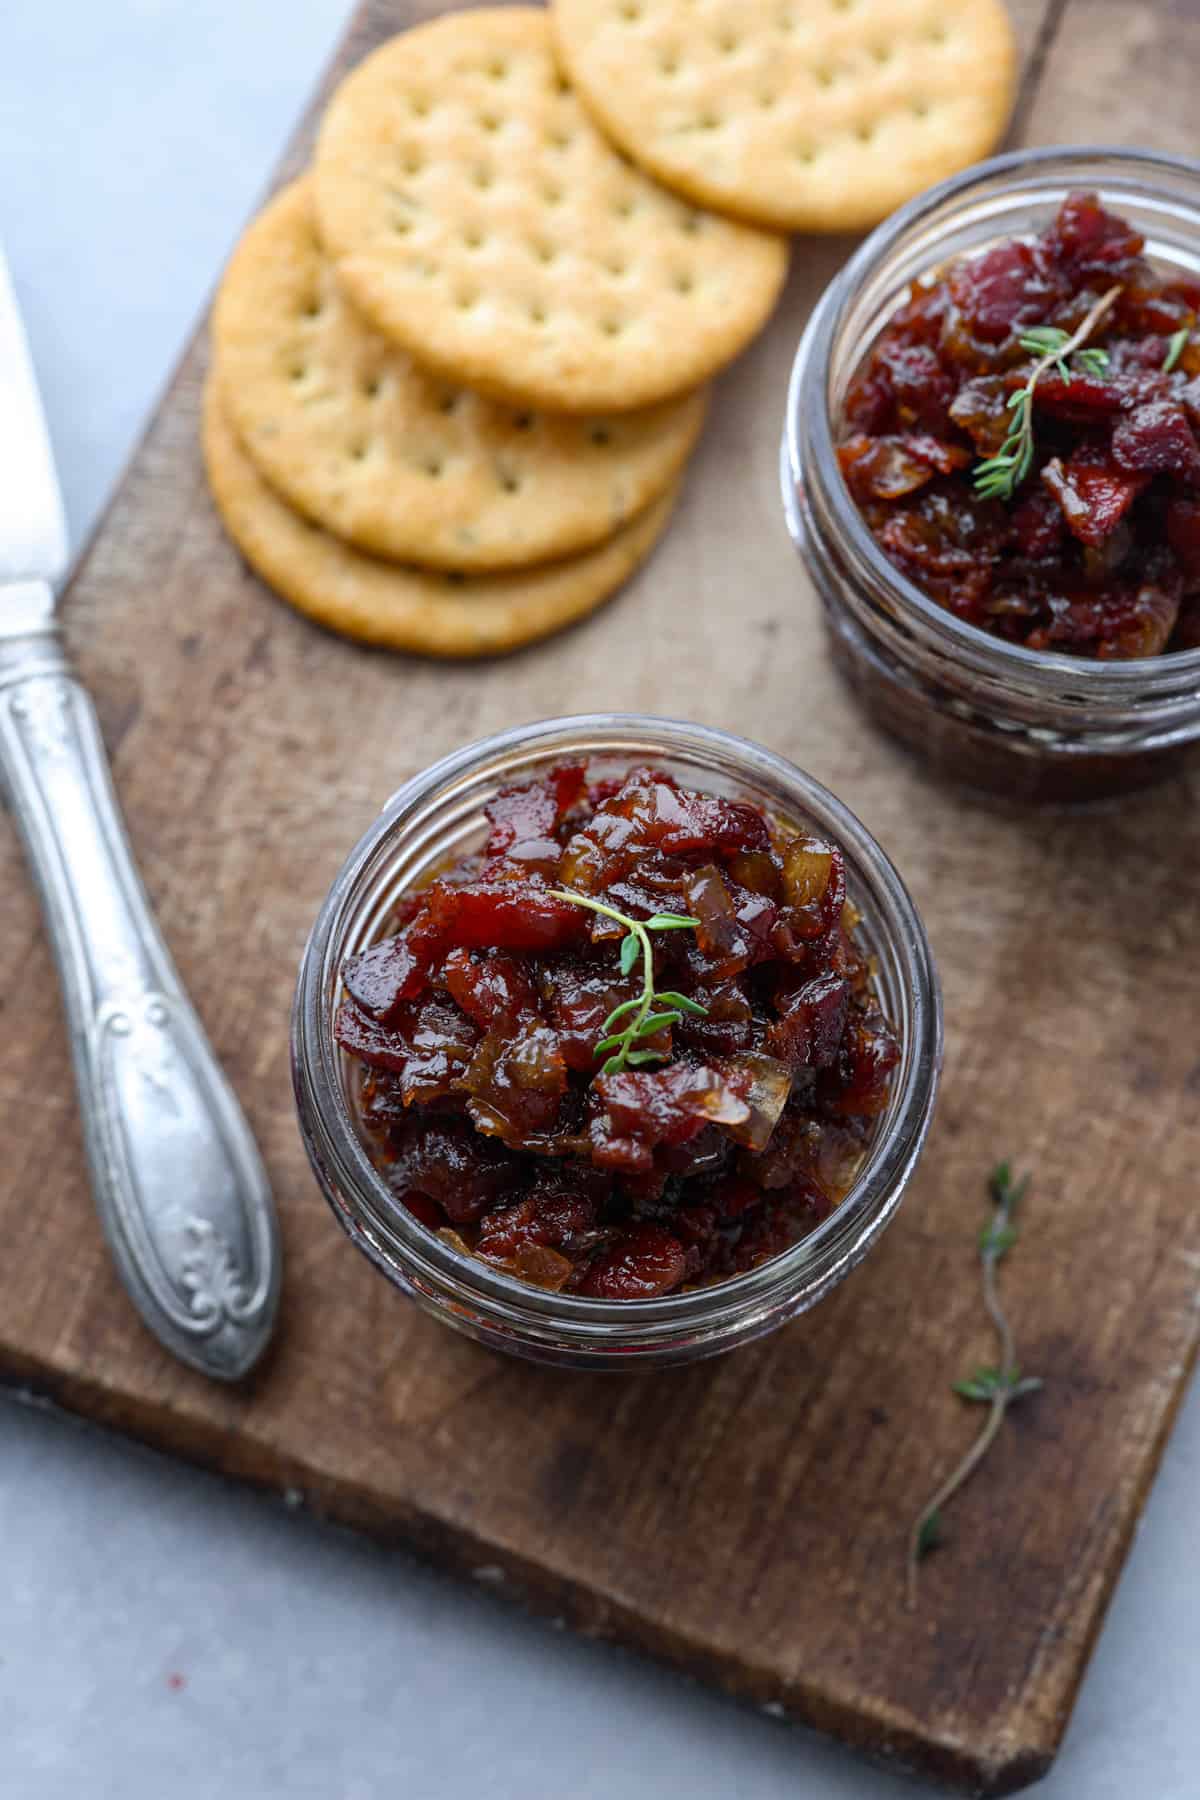
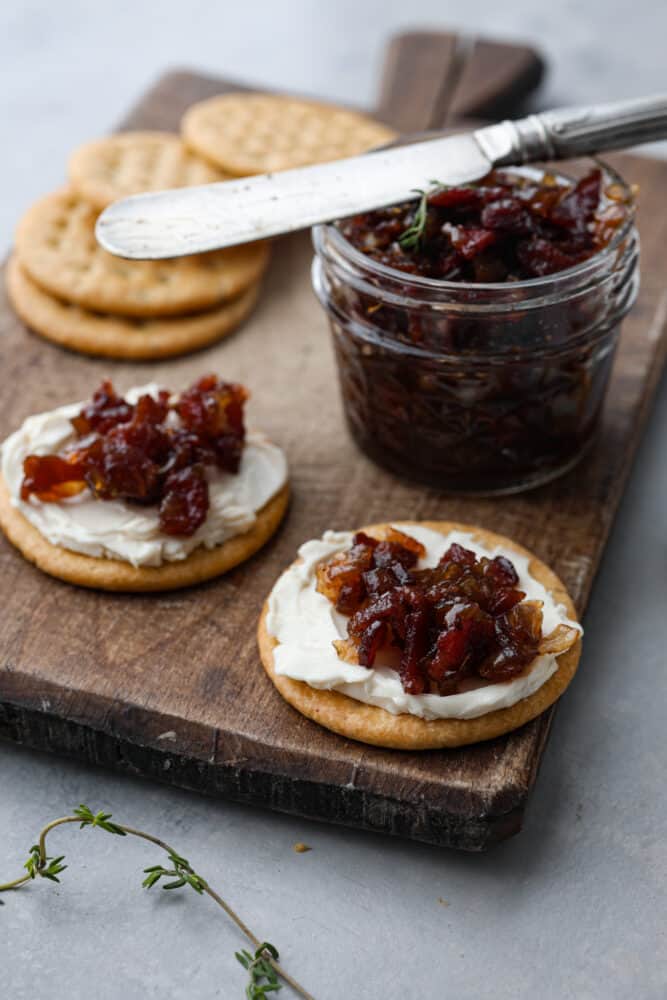
I know it may sound like an unusual combination, but trust me when I say bacon jam is a game-changer. This sweet and savory spread, made with crispy bacon, caramelized onions, and a touch of maple syrup, can elevate any dish from ordinary to extraordinary. It has a sweet and savory flavor that goes well with so many different foods, from toast and crackers to burgers and sandwiches. Once you try it, you’ll wonder how you ever lived without it!
Whether you’re making a sandwich or a charcuterie board, you need a good savory spread. After you make this delicious bacon jam, you’ll have to try out jalapeno jelly, garlic herb cream cheese, or whipped ricotta!
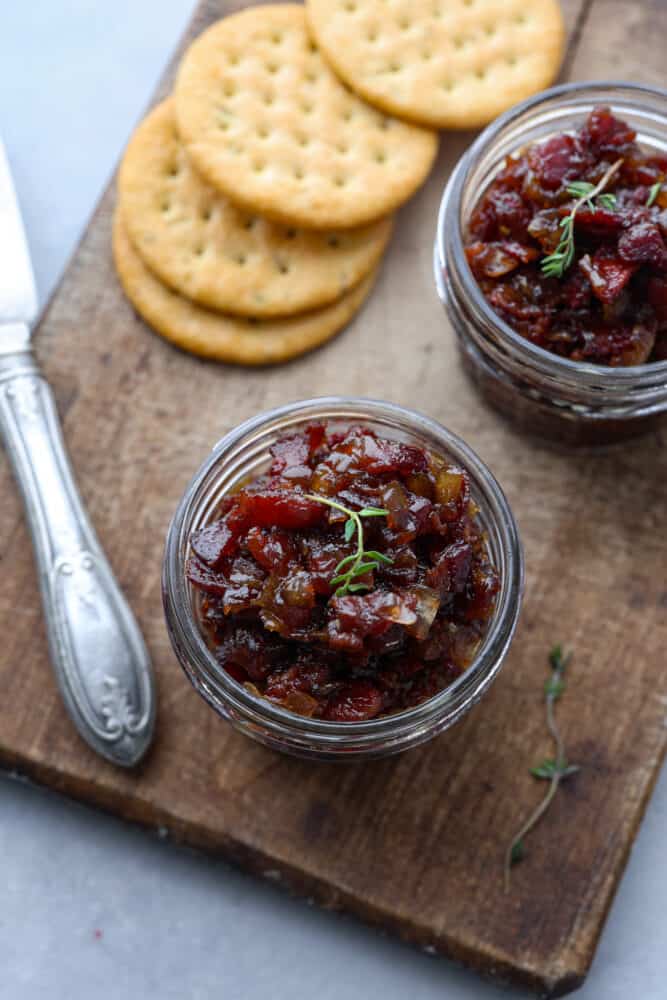
Bacon Onion Jam
Let’s talk about bacon jam, the ultimate condiment for anyone who loves savory and sweet flavors. This bacon lover’s dream is perfect for crackers, sandwiches, and burgers, adding an extra layer of flavor that will make your taste buds dance with joy. Just imagine a juicy burger smothered in bacon jam, or a grilled cheese sandwich with a dollop of this deliciousness – it’s a game-changer, my friends.
And the best part? Bacon jam is incredibly easy to make! All you need is bacon, onions, brown sugar, maple syrup, balsamic vinegar, and you’re good to go. Simply fry up the bacon until it’s crispy, cook the onions until they’re caramelized, and voila! You’ve got yourself a jar of deliciousness that will last in the fridge for weeks (if you can resist eating it all at once).
Ingredients You Need
Let’s talk about the ingredients that make bacon jam so drool-worthy! Check out the recipe card below for exact measurements.
- Chopped Bacon: This is the main ingredient that makes bacon jam so irresistible. It brings a smoky, salty, and meaty flavor that is just out of this world. For a leaner version, try using turkey bacon. If you’re a vegetarian, you can try using tempeh bacon or smoked tofu instead.
- Sweet Onion: These add a subtle sweetness and texture to the bacon jam. They cook to gorgeous, caramelized perfection! Shallots also work as a great substitute.
- Sherry Vinegar: Sherry vinegar is mild and slightly sweet, and if you don’t have any, you can use apple cider vinegar or white wine vinegar instead.
- Balsamic Vinegar: Adds a delicious tangy flavor that balances the meatiness of the jam perfectly.
- Brown Sugar: Gives the jam a caramel-like sweetness and to help thicken it up.
- Maple Syrup: For a little more subtle sweetness. Honey also works!
- Water: Adds moisture to the spread and also helps to adjust the consistency.
- Fresh Thyme: (Optional) In my opinion, fresh herbs are a must-add. If you don’t have fresh thyme, rosemary or basil are great substitutes.
- Salt and Pepper: Season to taste!
How to Make Bacon Jam
It takes less than 30 minutes to whip up a jar of fresh bacon jam. It’s so easy! Then once you have some on hand, as long as you store it properly in the fridge, you’ll be able to enjoy it for 2 weeks! It will level up your lunch game and take your sandwiches from good to great.
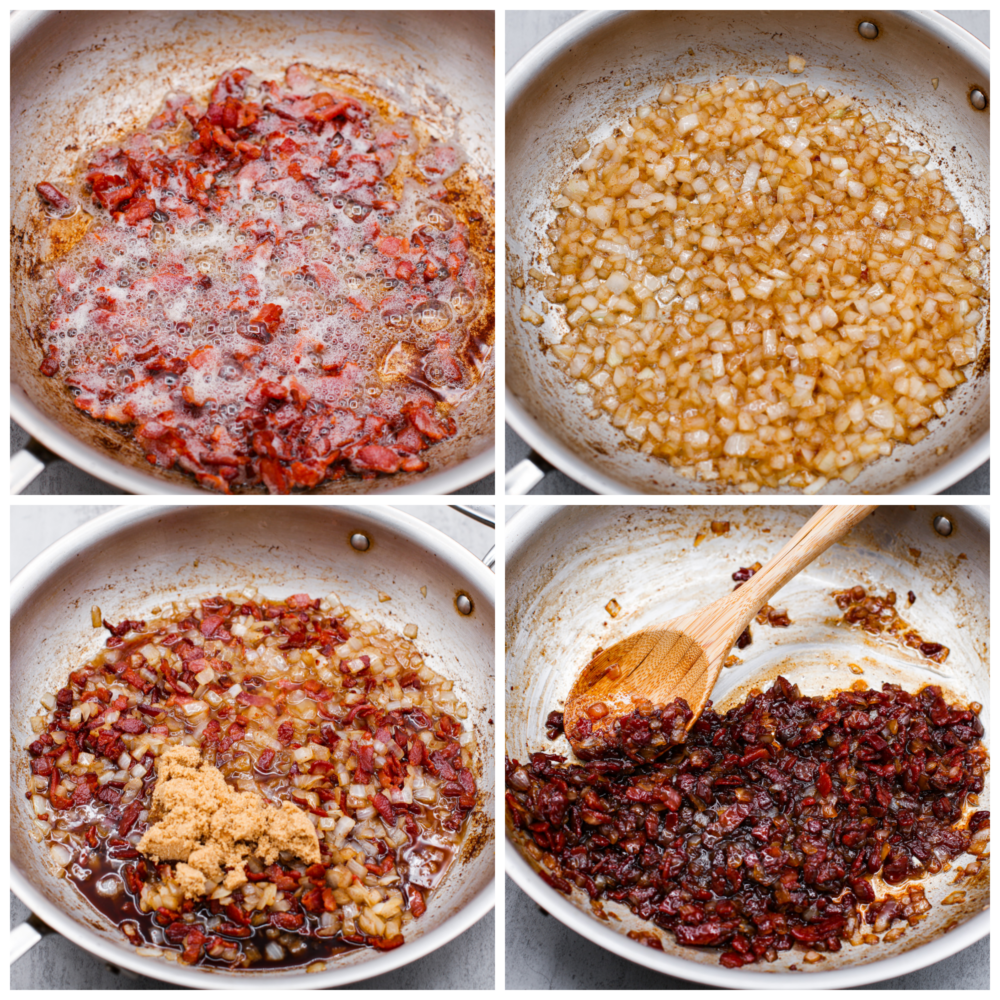
- Cook Bacon: Add the bacon to a large skillet and cook over medium-high heat until crisp. Remove with a slotted spoon to a plate lined with paper towels. Drain all but 2 tablespoons of the bacon grease.
- Caramelize Onions: Add the onions to the reserved bacon grease and cook over medium heat until the onions are translucent, about 4-5 minutes.
- Combine and Simmer: Return the bacon to the pan and add the vinegars, brown sugar, maple syrup, water, and thyme, if desired. Stir and cook until bubbling, then reduce the heat to low and cook for 10-15 minutes, until thick and dark.
- Airtight Container: Transfer bacon jam to an airtight container or jar and let cool completely before serving or storing in the fridge.
How Much Jam Does This Recipe Make?
This recipe makes about 1 cup of bacon jam. I usually end up with enough to fill an 8 ounce mason jar. Since bacon jam stays good for a while, feel free to double the recipe so you have more on hand! Trust me, you’re going to want to use it all the time.
Tips and Tricks
These are a few things to keep in mind as you make your bacon jam. Trust me, this spread is a game-changer! You won’t be able to get enough.
- High-Quality Bacon: Use a good quality bacon with a good balance of fat and meat. A thicker cut will hold it’s shape better as it is cooked.
- Swap Out Onions: The sweet onions can be switched out for whatever onion you prefer: white, yellow, red, or even shallots.
- Use a Food Processor: For a finer, smoother consistency, use a food processor or immersion blender to finely chop the bacon and onions.
- Adjust Consistency: Adjust the consistency as needed. If it is too thick, add some more water. If it is too thick, continue cooking to reduce the liquid.
- Add Spice: For a more complex flavor, try adding a pinch of cayenne pepper or smoked paprika! It’s so delicious. This way, you have bacon jam that is the perfect combination of savory, sweet, and spicy!
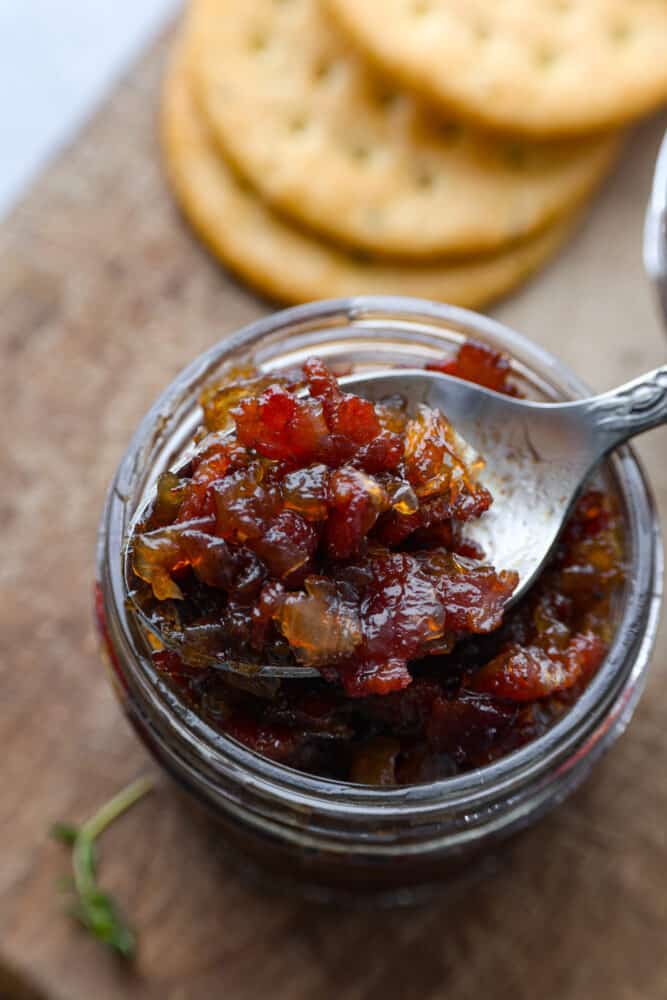
How Long Does Bacon Jam Last?
Easily, one of the best things about bacon jam is its shelf life. Now that you’ve made this delicious spread, here’s how to store it and keep it fresh!
- In the Refrigerator: Store in an airtight container or jar in the fridge for up to 2 weeks.
- In the Freezer: Store in an airtight container in the freezer for up to 3 months. Thaw overnight in the fridge before using.

Bacon Jam
Ingredients
- 12 ounces bacon chopped
- 2 cups sweet onion small dice
- ¼ cup sherry vinegar
- 1 tablespoon balsamic vinegar
- ¼ cup brown sugar
- 2 tablespoons maple syrup
- ⅓ cup water
- ½ teaspoon fresh thyme optional
- Salt and pepper to taste
Instructions
-
Add the bacon to a large skillet and cook over medium-high heat until crisp. Remove with a slotted spoon to a paper towel lined plate. Discard all but 2 tablespoons of the bacon grease.
-
Add the onions to the reserved bacon grease and cook over medium heat until the onions are translucent, about 4-5 minutes.
-
Return the bacon to the pan and add the vinegars, brown sugar, maple syrup, water, and thyme, if desired. Cook until bubbling, then reduce the heat to low and cook for 10-15 minutes, until thick and dark.
-
Transfer to a container and let cool completely before serving or storing in the fridge.
Nutrition
from The Recipe Critic https://ift.tt/nT6jSXx


Comments
Post a Comment