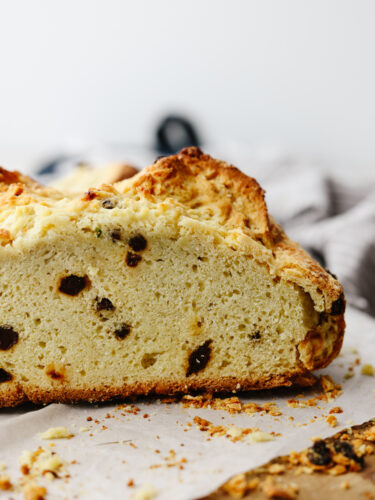
This traditional no yeast bread recipe is a crumbly dense bread with a slightly sweet taste. With only a few pantry and refrigerator staples required, this delicious traditional soda bread can be made easily and is one everyone will enjoy.
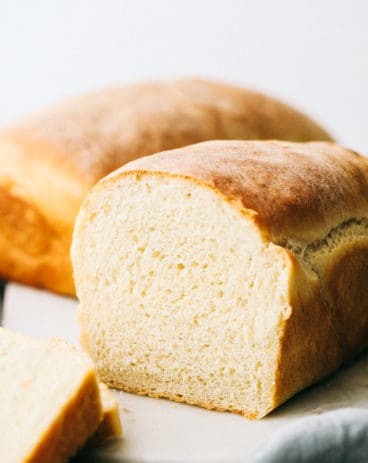
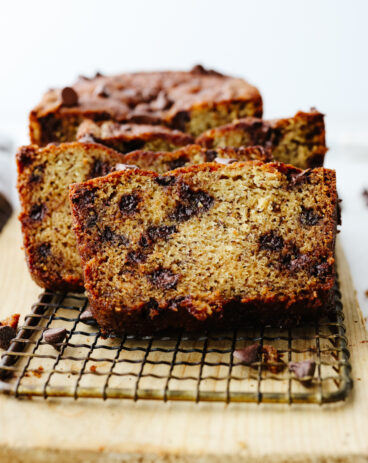
Bread is a perfect pairing for just about any meal and sometimes it tastes even better if it’s easy to prepare like this banana bread, this cheesy garlic bread, or even these biscuits.
What is Soda Bread?
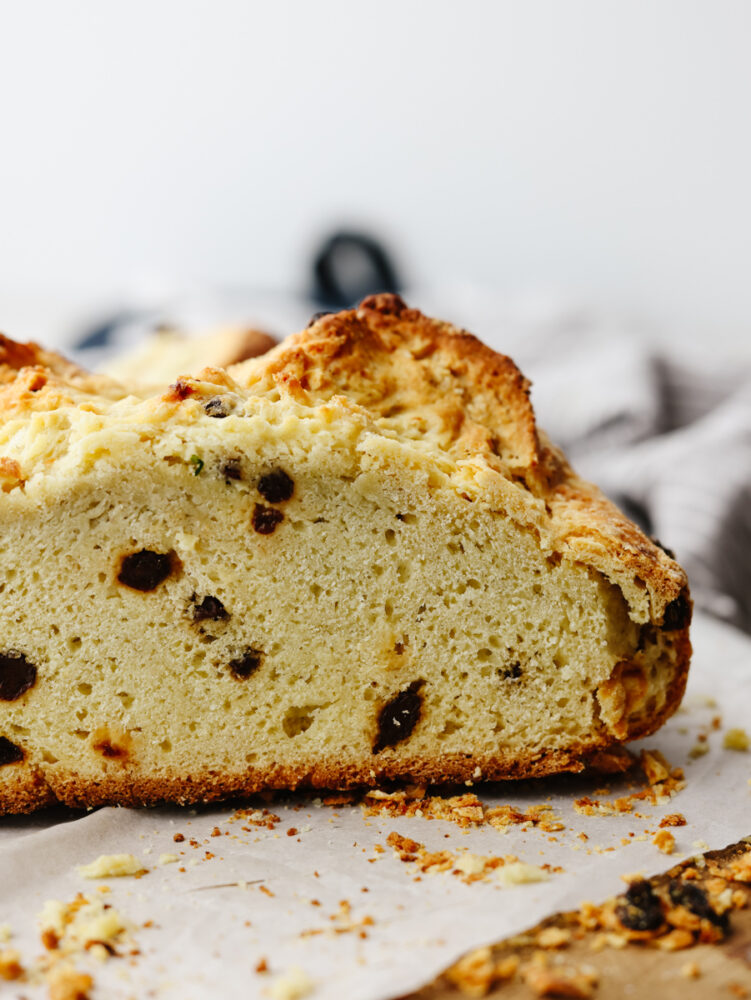
This yummy soda bread recipe is one of my very favorite bread recipes to prepare because of its simplicity and it’s also one that my kids love to make with me! In the United States, soda bread is commonly called “Irish Soda Bread” which is a sweet bread that is made with baking soda. The baking soda leavens the bread (helps it rise without yeast). So this bread is perfect for beginners because there is no kneading or rising time involved!
This dense and unleavened bread is made with simple pantry ingredients. Known as a table bread, which is a bread that can be toasted with butter for breakfast, cooked at lunch with cheese, or with dinner as a side at the table to your main dish! This bread is sweet and “soda-licious” (I couldn’t resist that pun)! Your family will absolutely love it.
Ingredients in Soda Bread
Traditional soda bread uses baking soda of course! Plus a few other ingredients that you probably already have in your pantry. See the recipe card at the bottom of the pot for exact measurements.
- Buttermilk: You can use storebought or Homemade Buttermilk for this recipe!
- Egg: A large egg will bind the dough together.
- Flour: I used all purpose flour for this recipe.
- Granulated Sugar: This makes this bread sweet!
- Baking Soda: The baking soda acts as a leavening agent to make the bread rise.
- Salt: This will enhance all of the flavors in the bread.
- Butter: Use chilled and unsalted butter when making the dough.
- Currants: You can use these or raisins instead. Either are optional.
How to Make Traditional Soda Bread
Get ready for a super easy bread that will impress all of your guests! It’s delicious and simple to make.
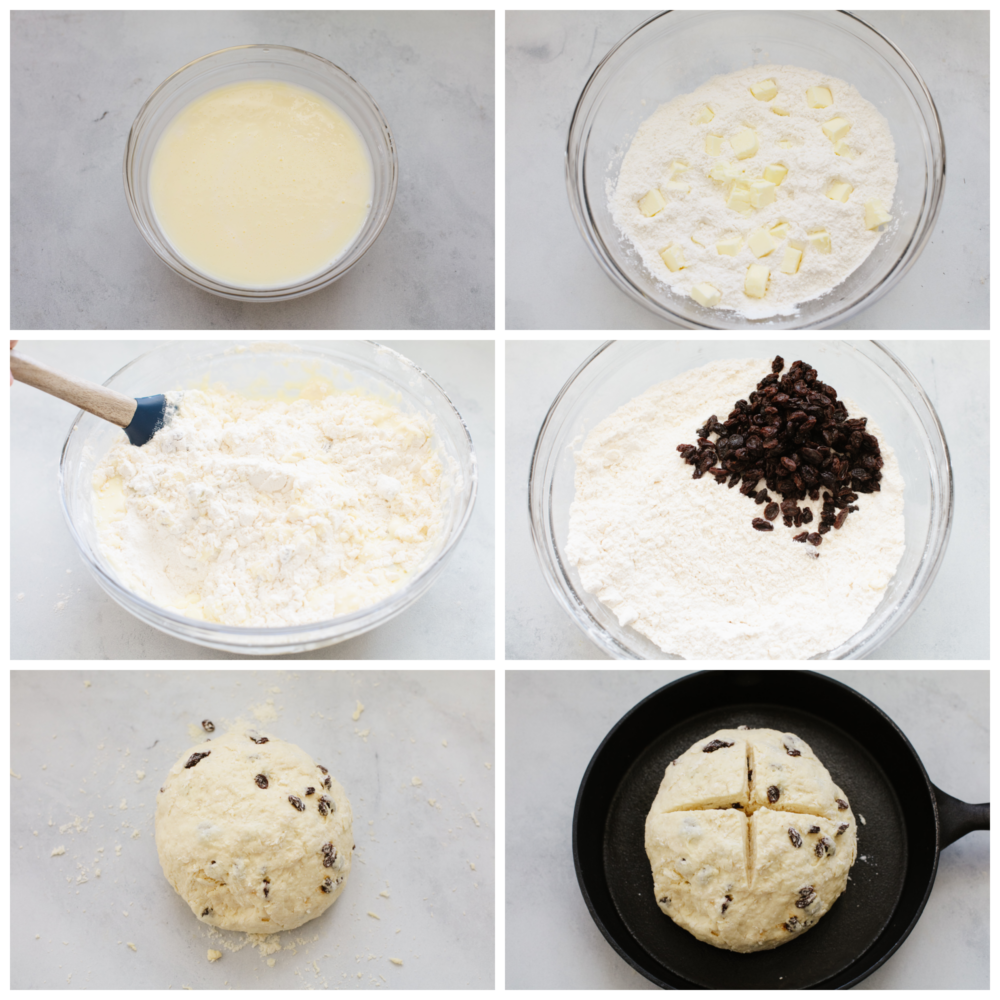
- Preheat: Preheat the oven to 400°. Get out a 10 to 12-inch cast-iron skillet or line a baking sheet with parchment paper. You can also use a 9-10 inch cake pan (lightly grease it) if you don’t have a cast-iron skillet.
- Combine Wet Ingredients: In a small bowl, beat the buttermilk and egg together until combined and set aside.
- Whisk Dry Ingredients: In a large bowl whisk together the flour, sugar, baking soda, and salt until combined. Add the cubed butter to the flour mixture and cut in using a pastry cutter or fork. Then, work the butter into the flour until it becomes crumbly. Stir in currants or raisins.
- Combine: Pour the buttermilk mixture into the flour mixture and fold using a spatula until the dough becomes thick. Lightly flour your hands and remove the dough from the bowl onto a floured surface. Incorporate the flour by kneading the dough for about 1 minute.
- Cut Dough: Place the dough onto the cast iron skillet or prepared pan and then use a very sharp knife to cut an X on top.
- Bake: Bake for 45 minutes until the bread becomes a nice golden-brown color all over. If it begins to brown too quickly, place a loose tent of foil over the top. The internal temperature should be 190-200F.
- Let Cool: Remove from the oven and let cool for at least 10 minutes before slicing.
Why is it Crumbly?
Using too much flour and too little buttermilk can cause your traditional soda bread to turn out more crumbly than it should be. Make sure to spoon and level the flour when measuring it.
Why is My Bread Raw in the Center?
There are a few reasons that cause traditional soda bread to not fully cook leaving a raw center. The fixes are simple though!
- First, check your oven temperature. Chances are it could be too high. If you don’t have a thermometer to check the internal temperature of your oven then try lowering it. Place a loose tent of foil over the bread to avoid it from overcooking the outer later and continue cooking on the lower temperature so the middle can fully bake.
- Second, make sure you’re using the correct pan size. If your pan is too small and the dough ball too high it will take longer to cook.

What Does Traditional Soda Bread Taste Like?
Similar to biscuits, the flavor is subtle with slight hints of sweetness. This bread is not meant to be served alone, but with butter or jam. To add additional flavor to soda bread you can mix in some dried fruits such as currants, or even something sweet like chocolate chips.
How to Store Soda Bread
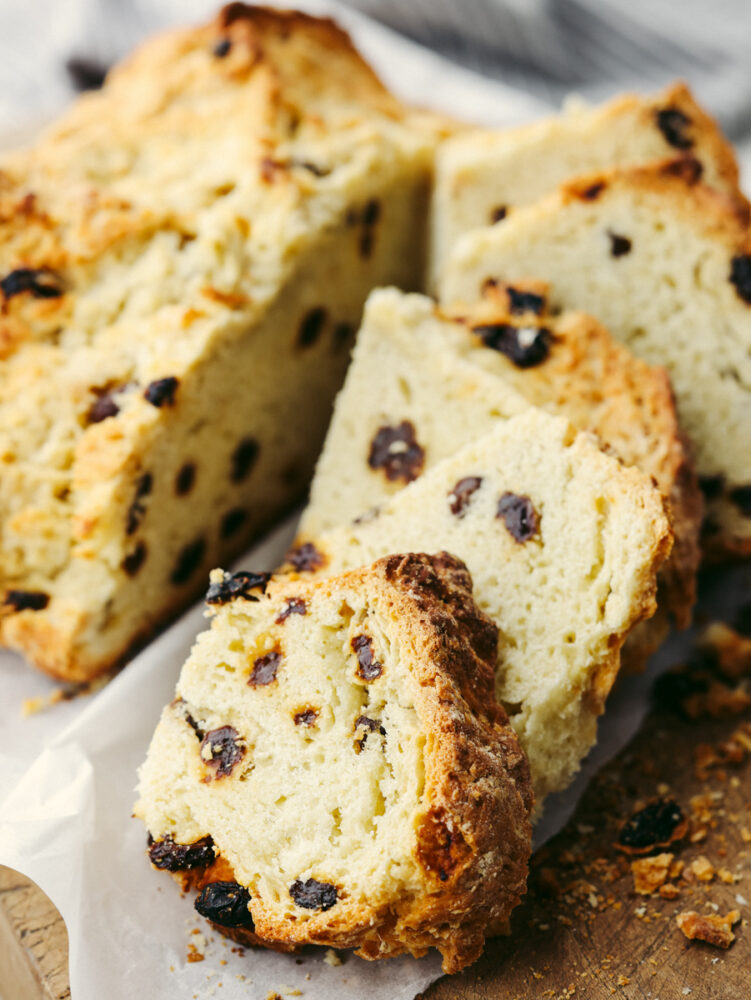
Wrap the bread in plastic wrap, foil, or store in an air-tight container for up to 4 days. It does not need to be refrigerated. This bread can also be stored in the freezer by covering it with plastic wrap and then a layer of foil. It will keep the freezer for up to 2 to 3 months.
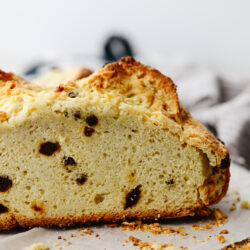
Traditional Soda Bread
Ingredients
- 1 ¾ Cup Buttermilk
- 1 Large Egg
- 4 ¼ Cup all-purpose flour
- 2 Tablespoons Granulated Sugar
- 1 Teaspoon Baking Soda
- 1 Teaspoon Salt
- 5 Tablespoons Unsalted Butter chilled and cubed
- 1 Cup Currants or Raisins optional
Instructions
-
Preheat the oven to 400°. Get out a 10 to 12-inch cast-iron skillet or line a baking sheet with parchment paper. Alternatively, you can use a 9-10 inch cake pan that has been lightly greased.
-
In a small bowl, beat the buttermilk and egg together until combined and set aside.
-
In a large bowl whisk together the flour, sugar, baking soda, and salt until combined. Add the cubed butter to the flour mixture and cut in using a pastry cutter or fork. Work the butter into the flour until it becomes crumbly. Stir in currants or raisins.
-
Pour the buttermilk mixture into the flour mixture and fold using a spatula until the dough becomes thick. Lightly flour your hands and remove the dough from the bowl onto a floured surface. Gently knead the dough for about 1 minute until all the flour has been incorporated.
-
Place the dough onto the cast iron skillet or prepared pan and use a very sharp knife to cut an X on top.
-
Bake for 45 minutes until the bread becomes a nice golden-brown color all over. If it begins to brown too quickly, place a loose tent of foil over the top. The internal temperature should be 190-200F.
-
Remove from the oven and let cool for at least 10 minutes before slicing.
Notes
Nutrition
from The Recipe Critic https://ift.tt/z4oT819

Comments
Post a Comment