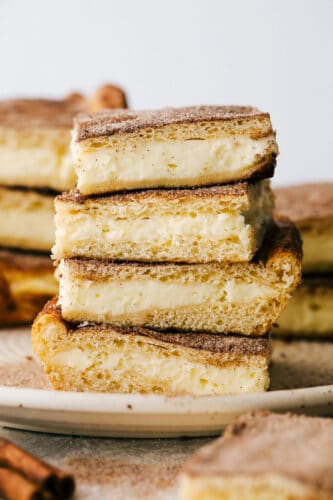
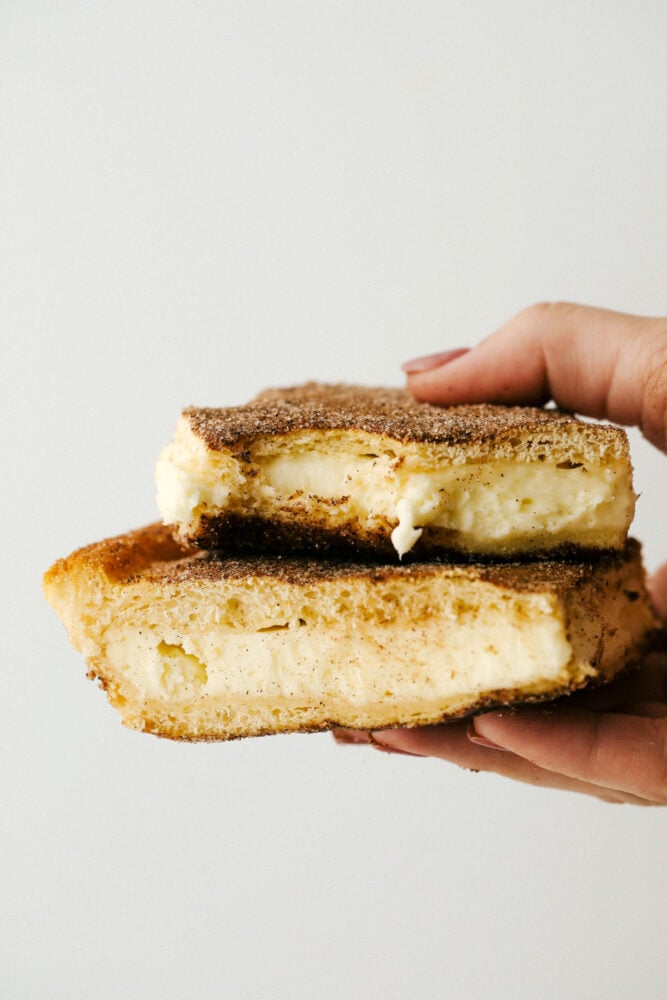
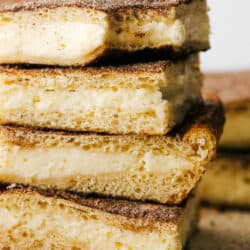
Churro Cheesecake bars are quick and luscious. These have a flakey crispy base, creamy center and topped with cinnamon and sugar, divine!
I love the classic Cinnamon and Sugar combo that creates that churro taste. Try it in these amazing Churros, Churro Waffles and Churro Cupcakes!
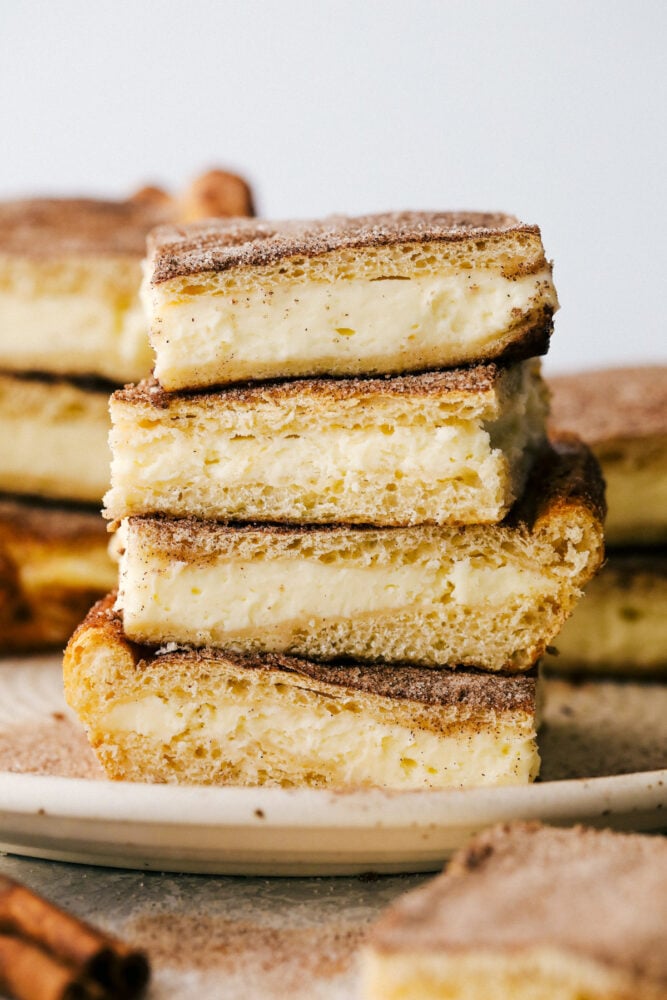
The Best Churro Cheesecake
These are epic! I have created a recipe with a few shortcuts so you can have these incredible squares in the oven in 20 minutes. Perfect for when you have a craving, or when you need a divine dessert fast! I use the refrigerated crescent dough for the base, which comes out flakey, buttery, and super tasty. Next, you’ll combine a quick and easy cheesecake filling. Top it all with that classic cinnamon and sugar combo and you have a winning churro cheesecake recipe in no time!
The smell of churro cheesecakes as they cook is absolutely heavenly. It will fill your house with that sweet aroma of cinnamon and sugar, it is guaranteed to bring your family running. But you will have to let them cool before you cut them. I know, it is the hardest part of making these churro cheesecakes, but totally worth it! You are going to love how easy these churro cheesecakes are and everyone else is going to love how they taste!
What You Need For Mexican Churro Cheesecake
Simple, easy, and decadent! What more could you want in a wonderful dessert. These churro cheesecakes are a great addition to any celebration!
- Crescent Dinner Rolls: I used Pillsbury butter crescent dough found in the dairy case.
- Cream Cheese: Full fat or low fat are ok, but I do not recommend using nonfat cream cheese.
- Vanilla: Adds the smooth rich flavor.
- Egg: Egg acts as a binder and helps the cream cheese be light and fluffy too.
- Sugar: White granulated sugar.
- Ground Cinnamon: I love using Saigon cinnamon, it has a rich, deep flavor and aroma.
How to Make Churro Cheesecake Bars with these Easy Steps
Churro cheesecakes take a few steps to layer the goodness but is still quick and easy to make. Within 30 minutes you will have a favorite Mexican dessert!
- Prep: Preheat the oven to 350 degrees. Using a hand mixer or a Kitchen Aid, beat together the cream cheese, vanilla, partially bean egg, and ½ cup sugar until smooth.
- Combine: Mix together the rest of the sugar (½ cup) and 2 Tablespoons of cinnamon. Set it aside.
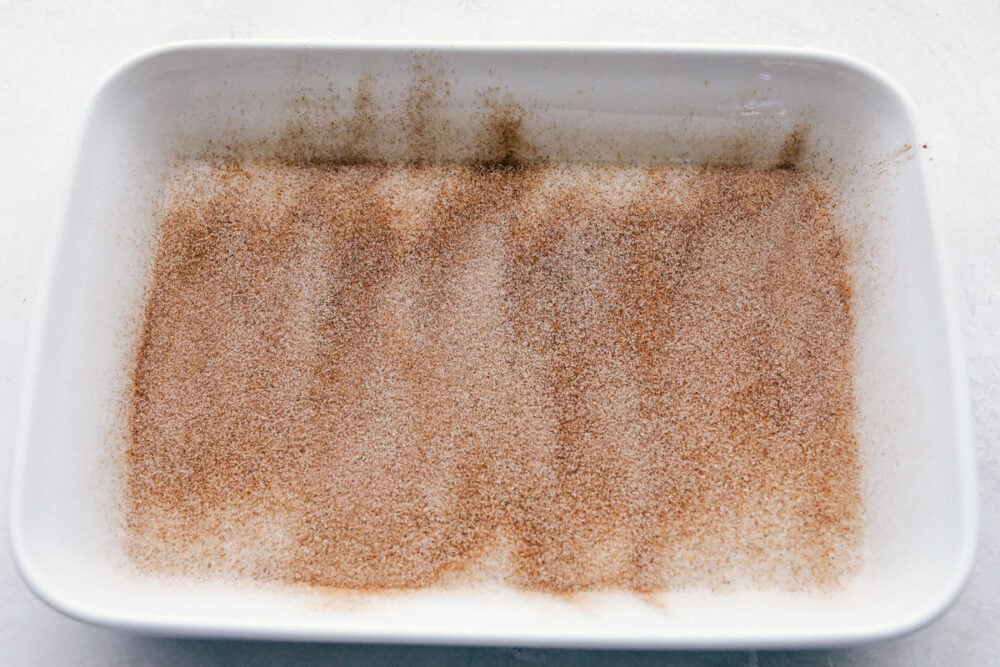
- Sprinkle: Spray 9×13 baking dish with cooking spray and sprinkle ¼ cup or half of your cinnamon sugar mixture evenly into the bottom of the 9×13.
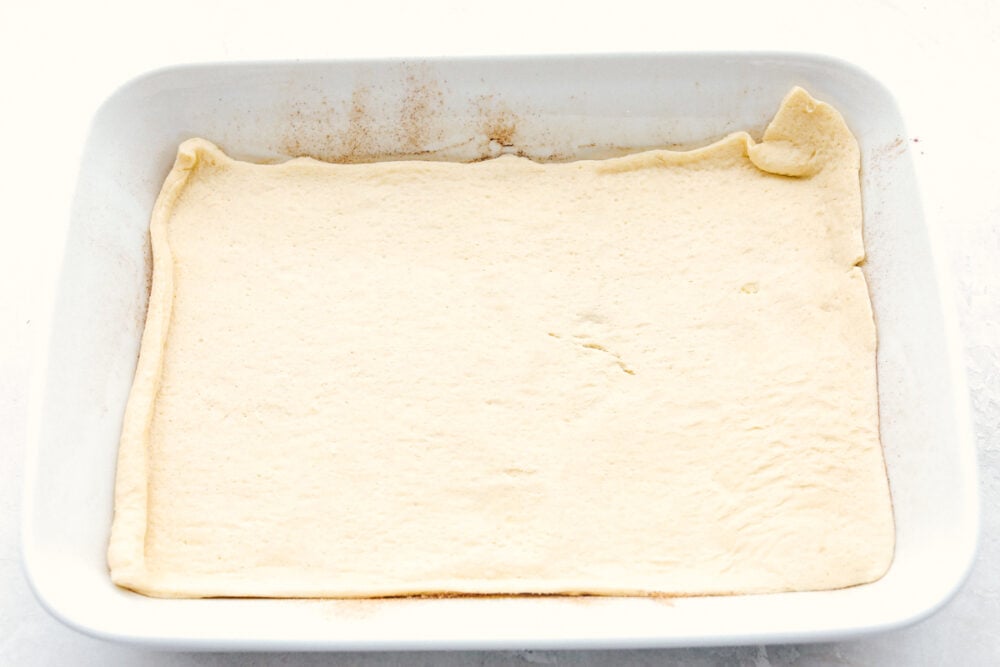
How to Lay the Dough Crust for the Churro Cheesecake Recipe
On a piece of parchment paper, roll out your crescent dinner roll dough into a big 9×13 square and press the seams together so the dough is completely sealed. Set the dough in the bottom of your 9×13 baking dish on top of the cinnamon and sugar. These churro cheesecakes are easy to make when using pre-made dough.
Adding Cheesecake on top of the Dough
Spread the cheesecake evenly on top of your dough using a spatula or butter knife. This will be a thick layer in between that will taste divine with every bite! These churro cheesecakes are layered with goodness!
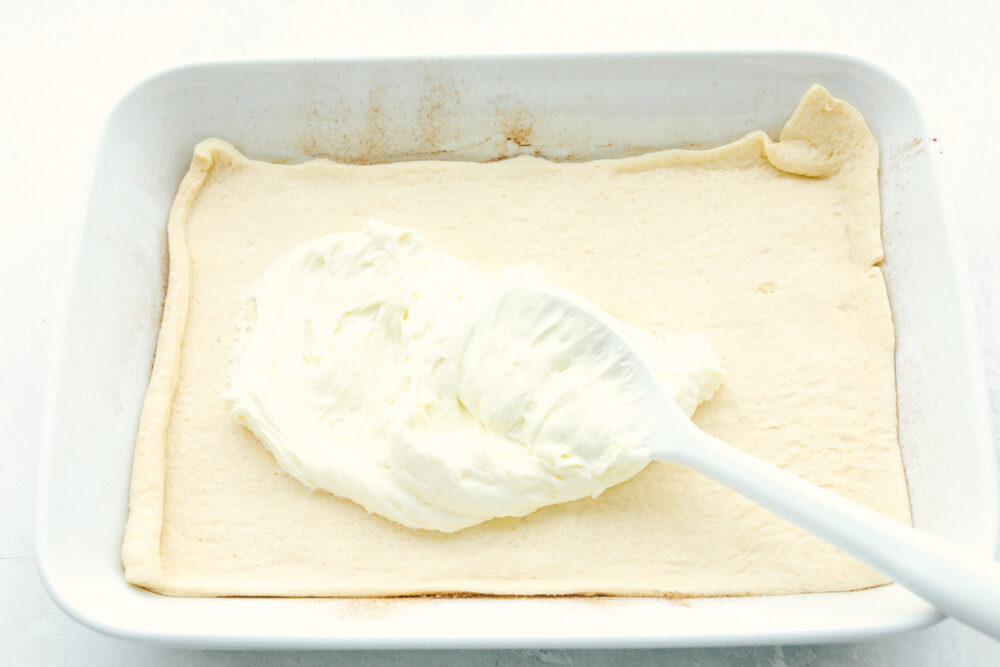
Layering the Churro Cheesecake
Unroll the second can of crescent dough and place on top on the cheesecake filling. It is best to make sure that the seams are completely sealed.
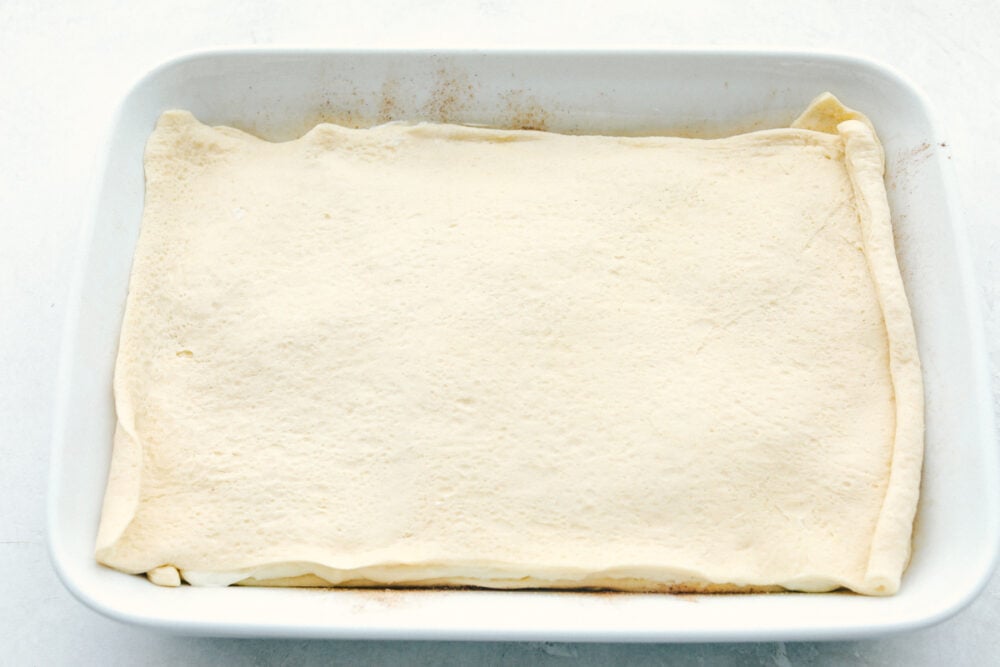
Sprinkle Cinnamon Sugar on Top
Top the dough with the remaining ¼ cup of cinnamon sugar mixture and bake for 30-35 minutes or until golden brown.
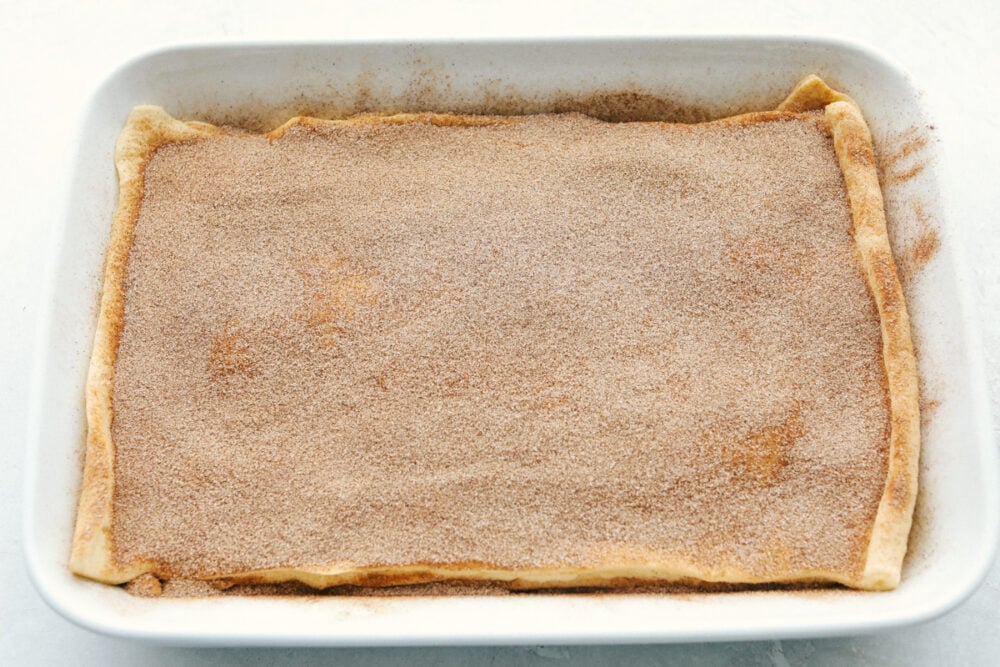
Tips and Variations for Churro Cheesecake
Using the refrigerated crescent dough on the top and the bottom is what gives this its classic churro flavor and texture. You are going to love the creamy sweet filling inside of these churro cheesecakes. They taste like a churro stuffed with cream cheese filling because essentially that’s what they are.
- Room Temperature: Have your cream cheese and eggs at room temperature before blending. This will make sure your filling is creamy and smooth.
- Seams: When you are rolling out your crescent dough, you just want to roll the seams together, not roll the dough super flat. You still want that nice flakey crust to puff up a bit and be light and airy.
- Cool: Make sure you let your cheesecake cool before cutting. This will help the cheesecake set up and be easier to cut and serve.
- Maple: If you want a touch of maple flavoring in your churro cheesecake substitute out the vanilla for maple syrup.
- Top it: Drizzle the top of the cooled churro cheesecake bars with chocolate syrup or caramel sauce. It will taste amazing.
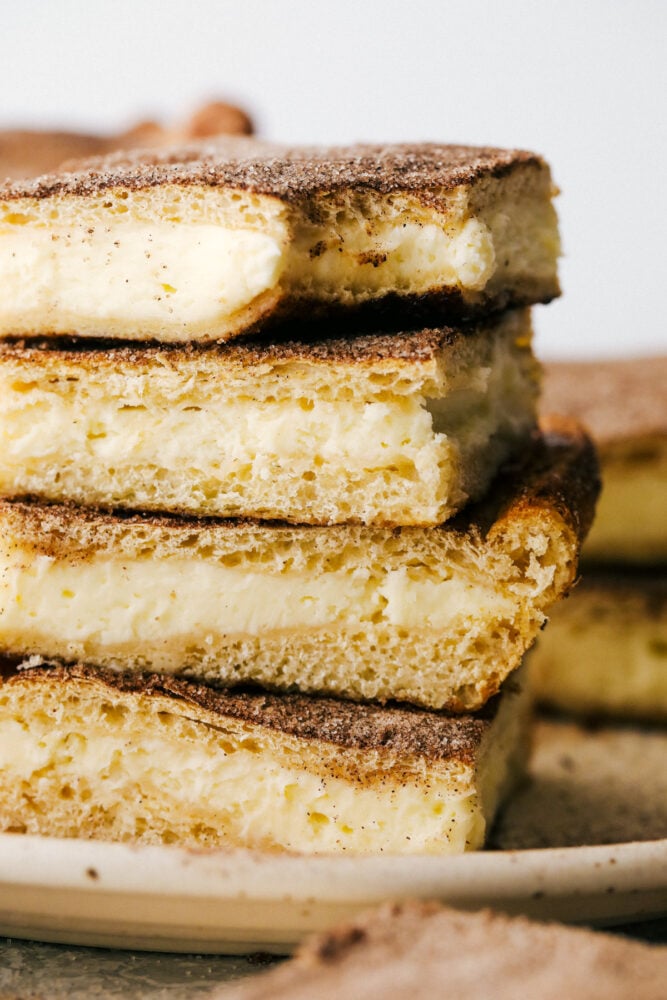
Storing Your Churro Cheesecake
These can be served when they are at room temperature after they have cooled a bit, or cold from the fridge.
- Fridge: Because of the cream cheese filling you will need to store leftovers in the fridge. They will keep for 3 days. After that, the bottom crust can get a bit soggy.
- Frozen: You can freeze churro cheesecake. Wrap it tightly in plastic wrap and then in foil and place in a freezer-safe bag. Keep for up to 3 months. Thaw in the fridge overnight.
Churro Cheesecake
Ingredients
- 2 cans Pillsbury Crescent Dinner Rolls (I used the butter flake kind)
- 2 package Cream Cheese 8 oz. each Cream Cheese, softened
- 1 teaspoon vanilla
- 1 large egg slightly beaten
- 1 cup sugar divided
- 2 Tbsp ground cinnamon
Instructions
-
Preheat the oven to 350 degrees. Using a hand mixer or a kitchenaid, beat together the cream cheese, vanilla, partially beaten egg, and ½ cup sugar until smooth.
-
Mix together the rest of the sugar (½ cup) and 2 tablespoons cinnamon. Set aside.
-
Spray a 9×13 baking dish with cooking spray and sprinkle ¼ cup (or half) of your cinnamon sugar mixture evenly into the bottom of the 9×13.
-
On a piece of parchment paper, roll out your crescent dinner roll dough into a big 9×13 square and press the seams together so the dough is completely sealed. Set the dough in the bottom of your 9×13 baking dish on top of the cinnamon sugar.
-
Spread the cheesecake evenly on top of your dough and unroll the other can of crescent dough and place on top also making sure that the seams are completely sealed.
-
Sprinkle the top with the remaining ¼ cup of cinnamon sugar mixture and bake for 30-35 minutes or until golden brown.
Notes
Nutrition
from The Recipe Critic https://ift.tt/2Ruj9ic
Comments
Post a Comment